Use the following procedure to add a single driver to a scenario. To add several drivers at once, use an import file (see Importing and Exporting Drivers). If you have already created drivers and you want to edit their details, see Editing Drivers.
To create a driver:
1.
In the upper left corner of the List panel, open the list menu and select the Drivers option. The Drivers list opens.
2.
Click the Create Driver button on the List panel tool bar. Alternatively, click the More button in the upper right corner of the List panel and select the Create Driver option. The Driver dialog box opens.
3.
In the Driver dialog box, enter the relevant driver details:
o
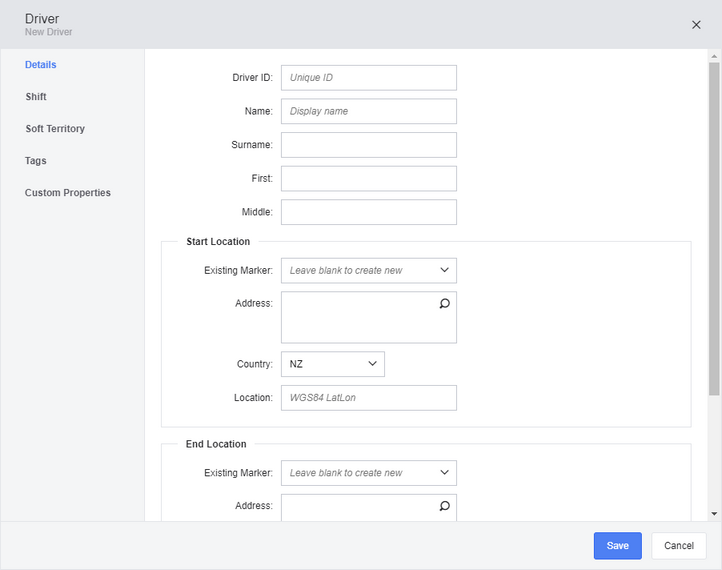
Details - Define basic information about the driver, including name, start and end locations, and preferred vehicle.
o
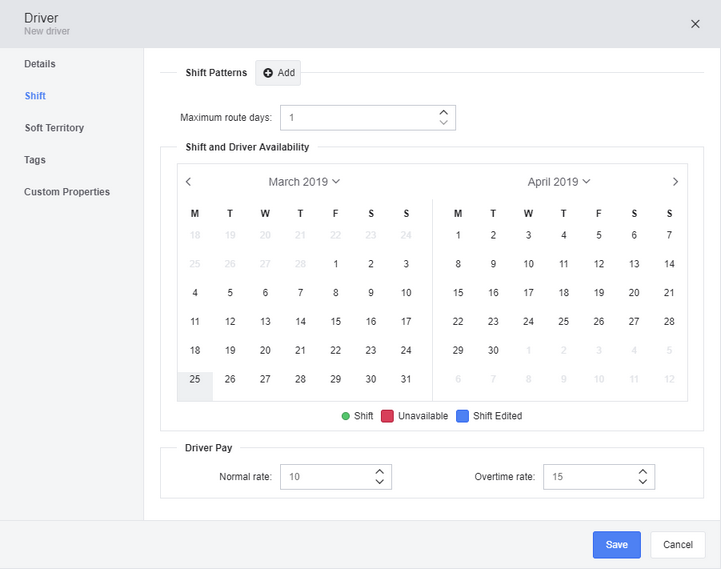
Shift - Define driver shift information and add driver shift patterns.
o
Soft Territory - Specify the geographical location where the driver is normally based. The optimizer will group routes assigned to this driver around this location whenever possible.
o
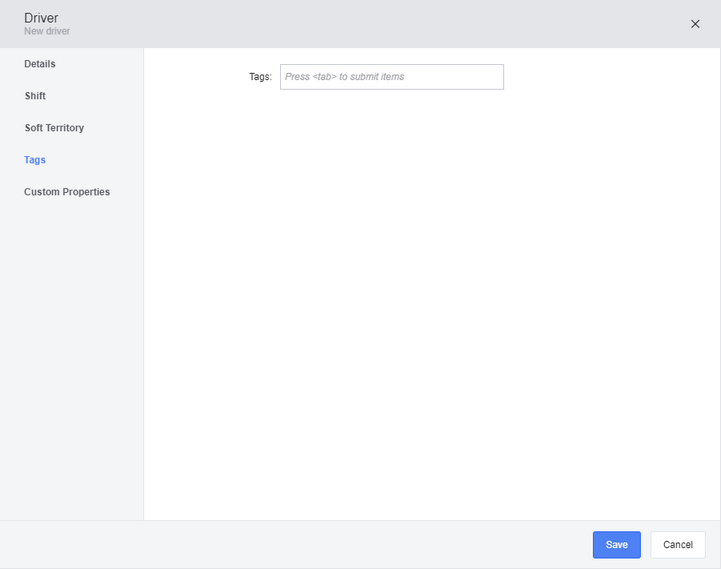
Tags - Add specific attributes that the driver possesses, and that may be required by a route, for example a specific type of training or ability.
o
Custom Properties - Add your own customer-defined data fields to drivers, such as contact details, which are shown on the Drivers list and can be used to sort the grid.
4.
Click Save.
Details
The Details tab lets you add the following information:
•
Driver ID - The driver's unique identifier.
•
Name - The display name for the driver.
•
Surname - The driver's last name.
•
First - The driver's first name.
•
Middle - The driver's middle names.
•
Start Location - The location where routes for this driver should start from by default.
o
Existing Marker - Select the marker for an existing location or leave this field blank to create a new marker with the address details below.
o
Address - The street address for the driver's default start location.
o
Country - The country for the driver's default start location.
o
Location - The latitude and longitude coordinates for the driver's start location. You can add this as an alternative to the address or existing marker. For existing markers, the location is automatically filled.
•
End Location - The location where routes for this driver should end by default.
o
Existing Marker - Select the marker for an existing location or leave this field blank to create a new marker with the address details below.
o
Address - The street address for the driver's default end location.
o
Country - The country for the driver's default end location.
o
Location - The latitude and longitude coordinates for the driver's end location. You can add this as an alternative to the address or existing marker. For existing markers, the location is automatically filled.
•
Preferred vehicle - The driver's preferred vehicle. This vehicle is associated with the driver by default when building routes. A different vehicle can be used for this driver by selecting a vehicle on the Overview tab of the Route dialog box when creating a route. In synced mode, this setting is filled with the preferred vehicle that is selected on the Shift tab of the Drivers dialog in the Verizon Connect platform. See Assigning a Vehicle to a Driver for more information.
Shift
The Shift tab lets you add the following information:
•
Shift Patterns - Select a shift pattern to use for this driver.
•
Maximum route days - The maximum number of days that multi-day routes can be for this driver.
•
Shift and Driver Availability - Select the days that this driver is available or unavailable on this calendar tool.
•
Driver Pay
o
Normal rate - The pay rate, in US dollars, for the driver working normal hours.
o
Overtime rate - The pay rate, in US dollars, for the driver working outside of normal hours.
Soft Territory
The Soft Territory tab lets you add the following information:
•
Existing Marker - The existing marker that will be used as the center of the driver's soft territory. Leave blank and enter a street address if this marker does not yet exist.
•
Address - The physical street address of the location at the center of the driver's soft territory.
•
Country - The country of the driver's soft territory.
•
Location - The location at the center of the driver's soft territory as a WGS84 latitude and longitude coordinate pair.
Tags
The Tags tab lets you add special skills, qualifications, or attributes that the driver possesses; for example, the ability to operate specialized equipment or handle certain types of loads. Driver tags are defined on the Drivers tab of the Tags screen.
To add a tag, start typing the name of the tag and then do either of the following:
•
Select the tag from the list.
•
Enter the complete name and press the Tab key on your keyboard.
You can enter more than one tag. To remove a tag, click the 'x' button next to the item.
Custom Properties
The Custom Properties tab lets you add the following information:
•
Name - The name of a custom property. These arbitrary properties are not used for optimizing routes, but are added as columns to the Drivers list, and can be useful for sorting and filtering purposes. For example, you could use these properties to specify additional data not included by default in Scenarios, such as contact details, dates of employment, drivers license numbers or insurance details. These values can then be sorted in the grid by clicking the column header. Click the Add Property button to add a new Name and Value pair, or delete the content of an existing property pair and then click Save to remove them.

 button on the List panel tool bar. Alternatively, click the More
  button in the upper right corner of the List panel and select the Create Driver option. The Driver dialog box opens.


 Previous
 Next
Next Expand/Collapse
 Print
Print Share Page
 Training
 Knowledge