The Shape tab lets you specify the type, size, and shape of a marker.
Click the Edit button to put the shape tab into Edit mode, then follow the instructions that are displayed in the dialog box. These instructions can guide you through the process of:
Click the handle in the center of the marker to drag the marker to a new location.
2:
The dotted outline shows the radius of the marker when in edit mode.
3:
Type a new radius into the Radius edit box to change the radius of the marker to a specific value, or with the cursor manually drag the circle marker using the square handle on the upper right circle edge.
4:
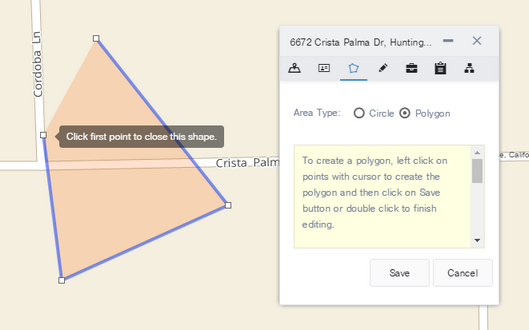
Click the Polygon radio button to change the marker to a polygon marker.
Click the Edit button (or click Redraw to delete the polygon. You can then draw a new polygon).
2:
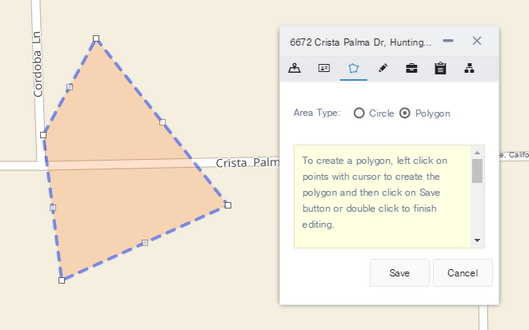
Click the square handle on a corner and drag it to a new location to re-position a corner of the polygon. Drag the handle at the center of an edge to a new location to split a single edge into two segments
3:
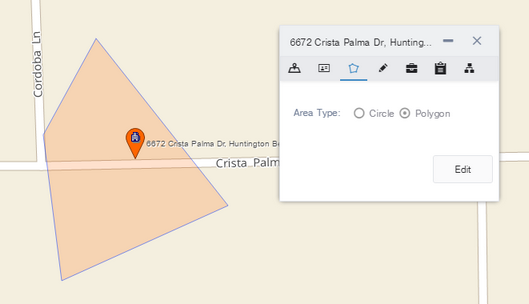
Click Save when you are finished editing the polygon.

 Changing a Circle Marker to a Polygon
 Previous
 Next
Next Expand/Collapse
 Print
Print Share Page
 Training
 Knowledge