How to Assign Users to More than One Hierarchy Node
You can assign a user to additional nodes in the hierarchy without unassigning them from their currently assigned nodes.
To assign a user to additional nodes in the hierarchy:
1.
From the Tasks section of the navigation bar choose Hierarchy. The Hierarchy screen opens.
2.
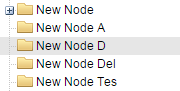
In the hierarchy tree, select the node that you want to assign the user to.
3.
Click the Unassigned Users tab to display the list of currently unassigned users.
4.
Select the Show unassigned users at this node check box if it is not already selected. This check box is only visible in accounts that support this feature. The users list is updated to display all users not currently assigned to this node. However, some of these users may already be assigned to other nodes (that is, the users listed are not simply globally unassigned).
5.
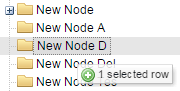
Select the user or users you want to assign. If the list is very long, use the search tool in the top right corner of the screen by typing the first few letters of a user name, then click Search. If you want to assign more than one user, click the users in the list while pressing the Shift or Ctrl key to expand your selection.
6.
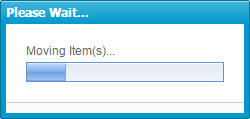
Drag your selection to the node in the hierarchy tree panel on the left. As you drag, a tooltip is displayed that indicates how many users will be assigned to the node when you release the mouse button. A progress message is shown, indicating that users are being assigned:


 Previous
 Next
Next Expand/Collapse
 Print
Print Share Page
 Training
 Knowledge